
How 3D Websites Work: Learn the Logic Behind Web 3D
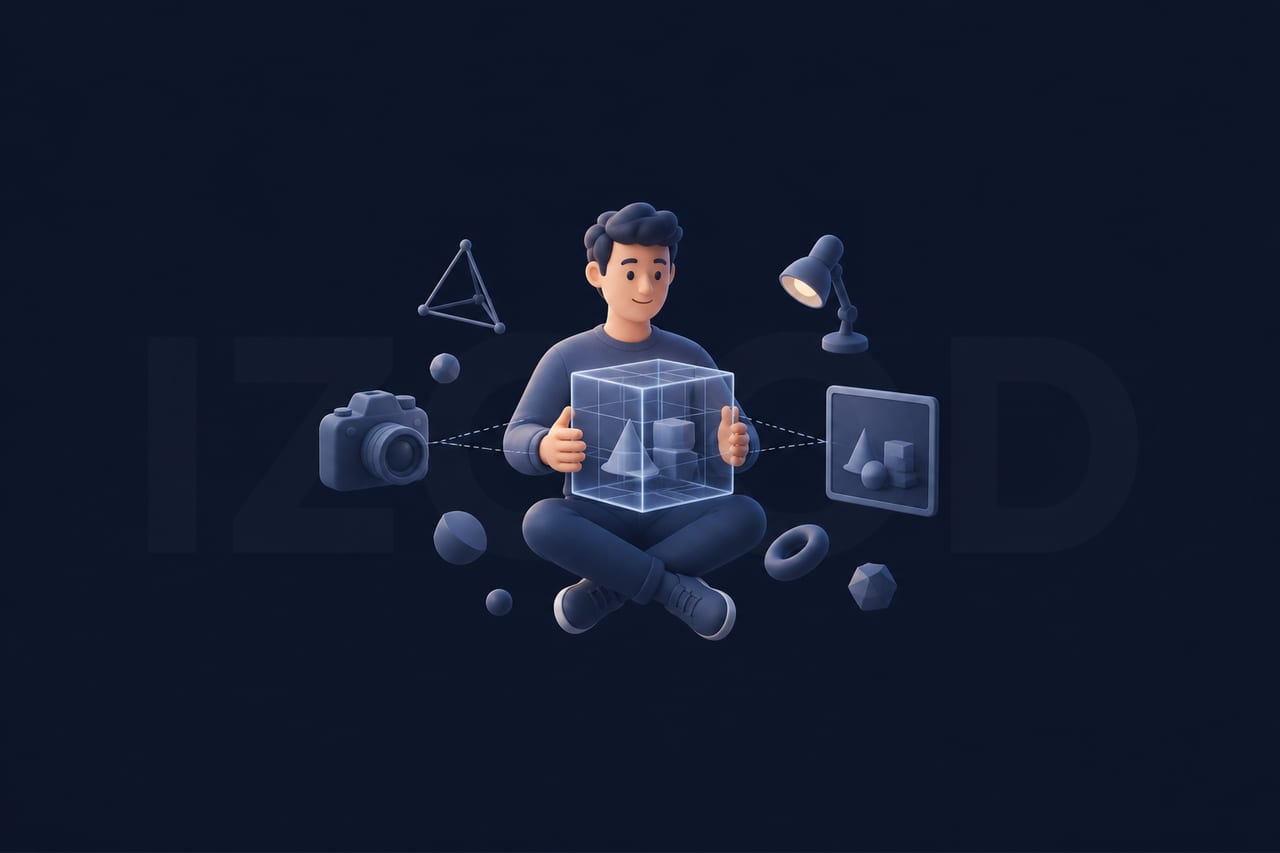
How do 3D websites work? A browser stores objects as shapes in a three-dimensional scene, positions a virtual camera, and asks the graphics processor to turn the camera's view into pixels on a two-dimensional canvas. You do not need to learn a particular design app to understand the system. Learn the relationship between a scene, geometry, materials, camera, renderer, and interaction, and most web 3D experiences become easier to build, debug, and judge.
Imagine a product page with a rotating coffee mug. The mug is not an image that somehow acquired depth. It is usually a mesh with a surface, placed in a scene. Dragging moves the camera or rotates the mesh. Each change produces a new view. This article follows that one mug from data to screen.
The six pieces behind a 3D web page
- Scene: the world that contains the mug, lights, and other objects.
- Geometry: the mug's shape, described by points and triangles.
- Material: rules for its surface, such as color, roughness, and texture.
- Camera: the viewpoint and the portion of the world visible to the visitor.
- Renderer: the system that draws the camera's view into a browser canvas.
- Interaction: events and state changes that alter the camera, object, or scene.
This is the basic structure described in the Three.js fundamentals guide. Three.js is one implementation, but the mental model applies broadly to real-time 3D. It is useful even if you never use that library.
Step 1: Think in a scene graph, not a flat stack of layers
A normal web page flows through headings, paragraphs, images, and boxes. A 3D scene has positions and orientations in space. Objects can also have parents. If a mug handle belongs to the mug, moving the mug should move the handle. That parent-child relationship is a scene graph. In the Three.js explanation of scene graphs, each node lives in its parent's local coordinate system.
That local-space idea solves many confusing bugs. Say you attach a label to the mug, then rotate the mug. If the label is a child of the mug, it follows automatically. If it is positioned independently in world space, you must update it yourself. When something seems to drift, ask which coordinate system it belongs to before changing random numbers.
Coordinates normally have three axes: x for left and right, y for up and down, and z for depth. Those conventions are not a promise about what the visitor sees. What appears left on screen depends on where the camera looks. A 3D value is not a screen pixel.
Step 2: Separate shape from appearance
The mug's geometry is a set of vertices connected into triangles. The triangles define its silhouette and surface. Its material determines how those surfaces look under light. A texture may add a printed pattern, but it does not usually change the mug's outline. A photograph of a patterned mug can look detailed on a flat surface while remaining flat in silhouette. That difference matters when you choose between more geometry and a better texture.
The separation also makes assets reusable. Two mugs can share geometry but have different colors. Ten objects can share one material. The renderer ultimately works with geometry and materials, not with a design-tool layer name. If a model looks like plastic when you expected ceramic, the problem may be its roughness or lighting rather than its shape.
A practical test: turn off the texture. If the form is still readable, the geometry is doing its job. Turn off reflections or elaborate lighting. If the shape disappears, the design is relying on effects that may fail on slower devices.
Step 3: Understand what the camera removes
The camera is more than a position. A perspective camera defines a field of view, an aspect ratio, and near and far clipping planes. Together they form a visible region called a frustum. Objects outside it are not drawn. This is why a perfectly valid model can seem missing: it may be behind the camera, too close, too far, or beyond the frame. The Three.js scene guide walks through those settings.
Perspective makes distant objects appear smaller, which feels natural for a product viewer or game. An orthographic camera keeps scale constant with distance, which can suit a diagram, editor, or technical illustration. Choose based on what visitors need to understand, not on which camera produces a more dramatic demo.
When the canvas changes size, update the camera's aspect ratio too. Otherwise the mug may stretch or be cropped. This is a relationship between CSS layout and 3D projection: the browser decides the canvas's displayed size, and the renderer and camera must agree with it.
Step 4: Follow the triangles to the pixels
The browser sends shape data and drawing instructions to the GPU through a graphics API. WebGL remains a broadly supported route for interactive graphics in a canvas. The MDN WebGL reference describes it as a hardware-accelerated browser API. At a simplified level, the GPU transforms vertices into the camera's view, turns triangles into pixel coverage, and shades visible pixels with colors, textures, and lighting.
WebGPU exposes a newer graphics and compute model, including render pipelines and programmable shader stages. It can enable more advanced work, but MDN currently marks WebGPU as not Baseline because support is still incomplete in some widely used browsers. The right lesson for a new project is to design a graceful fallback rather than assume every visitor has the same GPU path. A static product image can be a valid fallback for a 3D product viewer.
A 3D library hides much of this pipeline. That is convenient, but the underlying logic helps diagnose problems. If the model loads but appears black, investigate lighting and materials. If dragging works but frames stutter, examine the amount of work performed on every frame. If only one device fails, check API and hardware support before rewriting the scene.
Step 5: Decide when a new frame is necessary
Animation is a loop: update state, draw a frame, then repeat. A spinning mug needs regular frames. A still product viewer does not need to redraw sixty times a second while nobody touches it. The Three.js rendering-on-demand guide shows how to draw when a model loads, the window resizes, or the user moves the view. That can save battery and GPU time.
Interaction is a separate question from rendering. A pointer drag might rotate the mug, move the camera, or change a target angle that eases over several frames. Those choices feel different even when the scene is identical. First decide what the visitor is meant to learn or control; then map input to the smallest state change that communicates it.
How to design a useful 3D experience
Start with a visitor question. For the mug, it may be “Can I see the handle and the inside?” If a set of well-lit photographs answers that question faster, use photographs. If rotation reveals important shape, 3D earns its weight. Sketch the states before building: initial view, dragged view, loading state, failed load, and small-screen view. Decide which objects truly need to move.
Then build the smallest scene that proves the idea: one mug, one camera, one light, one interaction. Add visual effects only after checking frame rate and comprehension on a real phone. Every mesh, texture, shadow, and pixel of resolution has a cost. Three.js documents the draw-call overhead of many separate meshes; its responsive guide explains why high display resolutions can demand much more GPU work. Count what the scene asks the device to draw before assuming a faster library will solve a slow page.
Keep the information around the canvas accessible. A 3D mug should not be the only way to find its dimensions, price, or material. Use ordinary HTML for essential facts, provide a meaningful text description or image alternative, and avoid motion that is required to read the page. The 3D object should add understanding, not gate it.
A five-question debugging checklist
- Is the asset present? Check that the model and textures actually loaded.
- Is it in the camera's view? Check position, orientation, field of view, and clipping planes.
- Can its material be seen? Test with a simple material and light.
- Is the canvas correctly sized? Compare CSS dimensions, render resolution, and camera aspect ratio.
- Is the page drawing too much? Measure frame time, texture size, mesh count, and whether idle frames are being rendered.
Frequently asked questions
Do I need WebGPU to make a 3D website?
No. WebGL is sufficient for many product viewers, visualizations, and interactive scenes, and it has broad browser support. WebGPU is useful for some advanced workloads, but support and fallback planning matter.
Is a 3D model the same as a 360-degree product photo?
No. A 360-degree viewer commonly switches between photographs captured from fixed angles. A real-time 3D scene calculates a new view of geometry when the camera or object moves. Both can solve a product question; the simpler option is often better.
What should I learn first: modeling or code?
Learn the scene-camera-renderer relationship first. Then make one simple object move and respond to input. Modeling detail becomes much easier to judge once you understand what the browser actually draws.