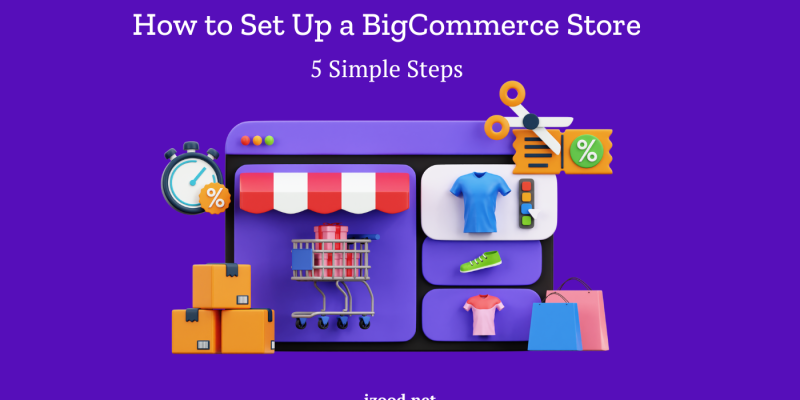
So, you’ve picked BigCommerce as your first e-commerce platform? That’s an excellent choice: according to Forrester Research, BigCommerce customers’ growth rate is 28%, which is twice the average for the whole market!
You’ve probably heard that even though BigCommerce is easy to use, you’ll likely need to hire e-commerce web developers to make it all work. Well, not exactly. You can still handle like 90% of the tasks by yourself, and even launch the site and make a couple sales. So don’t stress, and let’s walk through the five simple steps to get your store up and running.
1. Set up Your BigCommerce Account
Getting started with BigCommerce is pretty easy. Unlike Shopify, this platform gives you a 15-day free trial period. It’s a good way to learn how it works, but you’ll need to choose a paid plan to actually launch your store.
To sign up, just type in your email and website domain. Then, fill in some more details, and you’ll be directed to your BigCommerce dashboard.
2. Create a Design for Your Store
Generally, there are two ways to design a BigCommerce website: to choose a pre-built theme and set things up manually, or to hire designers to make it from scratch.
When you sign up, you’ll get a basic theme for your store called Cornerstone. But you can change it up to fit your brand better by changing colors, fonts, and layout.
BigCommerce has lots of themes in their marketplace, so take your time picking one that matches your style.
3. Add Products and Categories
It’s helpful to have categories for your products so people can find them easily.
To add categories:
- open the Dashboard;
- go to the Products tab;
- select Product Categories;
- choose Add Category.
Adding products is even more straightforward. To add a product:
- go to the Add Product screen from the Products tab;
- fill in the info about your product, like its name, description, and price.
You can also add images and videos to make it look better. You don’t have to fill in everything, just focus on what will help to sell your products.
4. Set Up Payment and Shipping Options
Once your products are in, you’ll need to set up payment and shipping. BigCommerce has lots of payment options, like Square, PayPal or credit cards. If you need something specific, you can create a custom payment method.
Also, you can set the following shipping rate options:
- standard shipping rate;
- weight-based shipping rate;
- total-order shipping rate;
- free shipping.
Setting up taxes is the last step in this stage. There are different tax rates that can be set, or you can set a price that includes tax.
5. Launch Your Store
After you’ve set everything up, it’s time to launch your online store! But before you do that, there are a couple more things to do.
First off, you need to set up your store profile.
To do this:
- open the Dashboard;
- click on Store Setup;
- open the Store Profile.
Here, you’ll need to give some basic info about your store, like its name, address, country, email, and phone numbers. This info will show up in the footer of your BigCommerce store.
Once that’s done, you can preview your store to make sure everything looks just right before it goes live.
Bottom Line
Once you finish reading this guide, you’ll have all the info you need to start your store. But don’t just stop there. Your site still needs lots of staff to stand out, so look through the app marketplace – there you can find some tools to make your site look and feel better for customers.
Need a tech expert to set everything up? DigitalSuits can help! As an official BigCommerce partner, we can bring experienced web developers, project managers, and UI/UX designers to manage your BigCommerce project from start to finish.
Get in touch and let’s build your perfect BigCommerce website!


