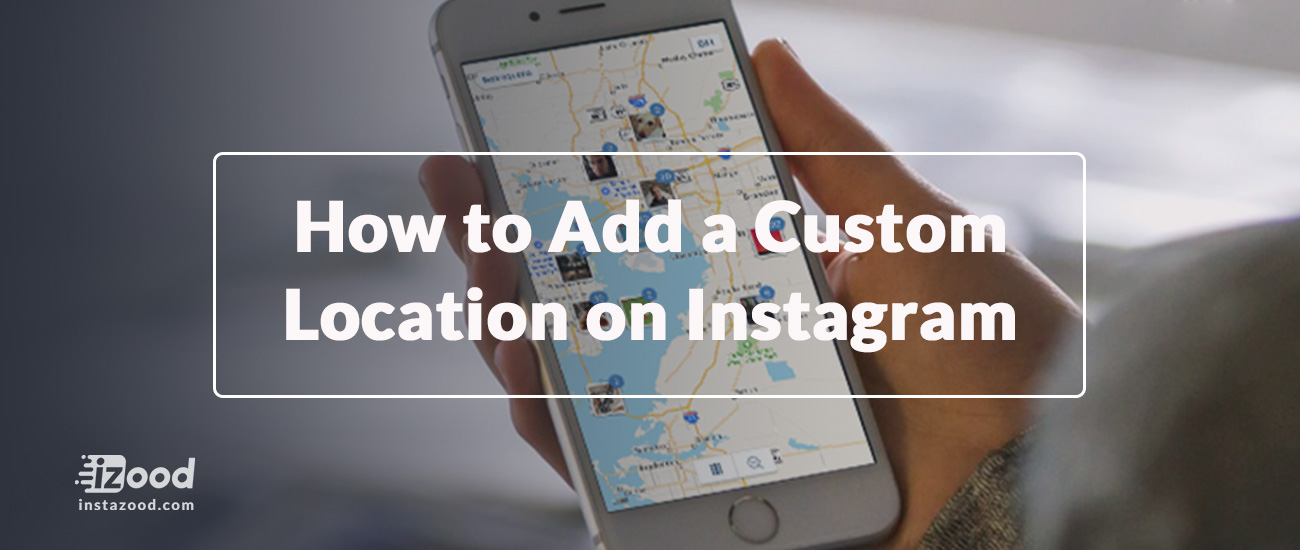


Do you have an Instagram account? Want to know how to create a custom location on Instagram? In this post, I share the step-by-step instructions on how to create a custom location on Instagram.
Why custom locations?
Before Instagram released the 7.4.1 update to their app on August 19 (2015), power users would use the location feature to create a custom location or mock geotag.
Often these mock geotags were funny places, URLs, or Call to Actions like “Link in Bio” or “Follow me on Twitter”.
When Instagram introduced version 7.4.1 of their iOS and Android app they removed the ability to easily create a custom location within the Instagram app. However, there is another way.
Since the app update, many users have decided to leave the location field blank or tag their photos with nearby locations.
However, there is still a way to create custom locations even though Instagram removed the ability to create custom locations from the Instagram app natively.
How to add location on Instagram?
The first step is to make sure your location services within the Facebook Mobile App are turned on. If your location services are turned off you will not be able to create a new custom location.
Most people will have this turned on by default but there is a handful who are leerier of Facebook knowing their location and they may have turned this off for privacy reasons.
The next step is to sign in to your Facebook app and begin creating a check-in status update. To do this click on the location icon which should then show a selection menu of nearby locations.
Tap the search box and type in the custom location as you’d like it to appear on Instagram.
Note: The first letter of your custom location must be capitalized and you can’t use symbols like # and @ or emojis?
Make sure you’ve spelled everything correctly and tap on the “Add ‘[your custom location name]’…” button.
On the next screen, you’ll need to choose a Category. “Just for fun” is probably the most appropriate choice. If you choose “Home” as the category it’ll ask for some other information and may tie it to your Facebook profile probably isn’t what you want so I’d stay away from the category for now.
On the next screen, Facebook will ask you to Choose a Location. The easiest thing to do is to tap the “I’m here right now” button but if you’d rather not have your current location tied to your custom location you can search for another location and choose that instead.
After you’ve chosen a location you can click on the “Create” button in the upper right-hand corner (iOS) which will add your new custom location to the Facebook database.
Post your check-in status update to Facebook.
To test that your custom location was created properly, open your Instagram app and create a new post as you normally would.
Just before you publish your post click on the “Add Location” button and search for your recently created custom location on Instagram. You should see your new custom location on Instagram appear in the search results.
Also you can read: “How to stop sharing location without them knowing” to find a way to stop giving out your location so easily.