Probably you’re familiar with the word AirDrop. It is a great trait that allows users to share files and photos with each other in a wireless environment. It comes in handy for making a suitable environment to share files without the need for internet access. We’ll explore everything you need to know about AirDrop photo sharing, its benefits, troubleshooting common issues, and generally, how to AirDrop on iPhone.
The technology of AirDrop is a mix of Bluetooth and Wi-Fi to create a safe connection between devices. AirDrop is available on all recent iPhone models offering an efficient way to transfer photos between iPhones, iPads and even Macs.

Step-by-step Guide on How to AirDrop on iPhone
You just need to follow these easy steps to use AirDrop on your iPhone. Let’s go:
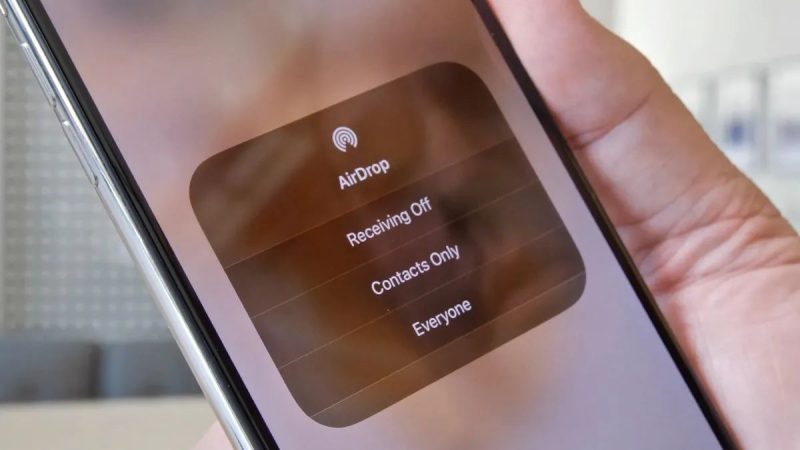
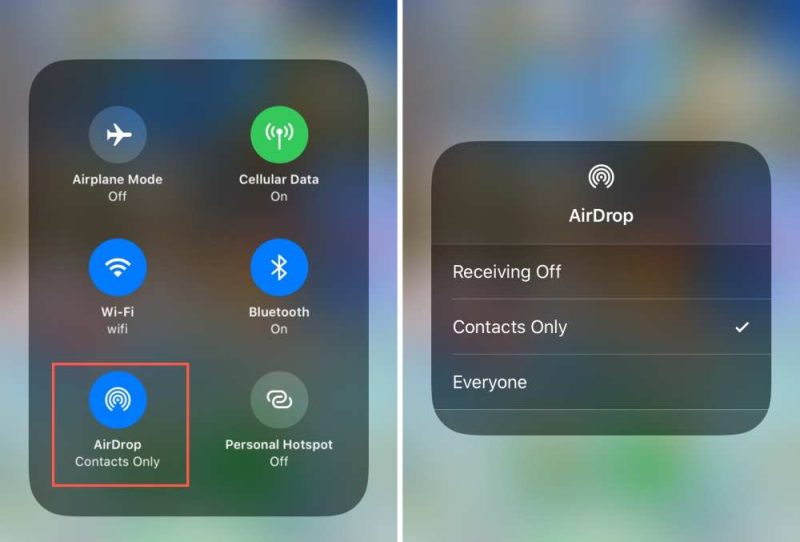
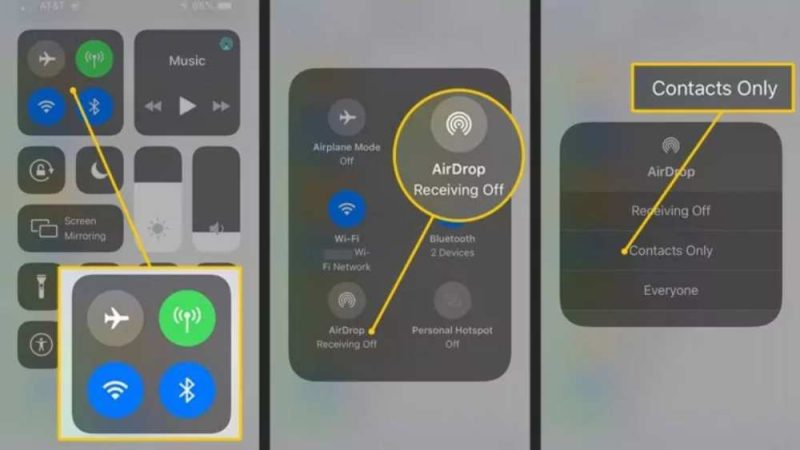
Turn on AirDrop: You have to open the Control Center on your iPhone and swipe down from the top right part of the screen. Now hold down the network settings card and keep pressing it until it grows. Tap the “AirDrop” icon and choose “Contacts Only” or “Everyone” based on what you want.

Open the app for photos: Open the pictures app on your iPhone and find the album or collection where the pictures you want to AirDrop are saved.
Choose the pics: Find the “Select” button in the upper right part of your screen. Tap on the pictures you want to share to choose which ones you want to send. The pictures you choose will be marked with a blue checkmark.
Click on the Share button: As soon as you’ve chosen the photos you want to share, tap the square with an arrow heading up, which is the Share button. This will bring up the menu of ways to share.
Select the person: From the menu for sharing choices, you can see a list of all the devices that can use AirDrop. In this step, tap the device you want to send the pictures to. The recipient will receive a message that pictures are coming and asked to accept them.
Wait for the transfer: The transfer will start once the receiver accepts the AirDrop request. You’ll see a bar that shows how far along the move is. The shots will be saved in the shots app of the person who gets them.
Benefits of Using AirDrop for Photo Sharing
There are various advantages to using AirDrop for iPhone photo sharing. To begin with, it is really quick and convenient. You can transmit several photographs to another iPhone user in seconds with only a few touches. This makes it excellent for sharing images with family and friends at events or gatherings.
Secondly, AirDrop ensures that your photos are transferred securely. The peer-to-peer connection created by AirDrop is encrypted, meaning that only the intended recipient can access the files you share. This provides peace of mind, especially when sharing sensitive or personal photos.
Finally, AirDrop allows you to share high-quality photos without any loss in resolution. Whether you’re sending professional photos or capturing precious memories, AirDrop ensures that the recipient receives the files in their original quality. This is particularly important for photographers or anyone who values preserving the integrity of their photos.
Also read: “How to Fix A Broken iPad Screen“
Troubleshooting Common Issues with Airdroping on iPhone
While AirDrop is generally reliable, occasional issues may arise. Here are some common problems and their solutions:
AirDrop Not Working: Ensure that both devices have AirDrop enabled and are in close proximity. Turn on Bluetooth and Wi-Fi on both devices if needed.
Devices Not Detecting Each Other: Restart Bluetooth and Wi-Fi on both devices if they fail to detect each other. Enabling the “Everyone” option in AirDrop settings can also expand device visibility.
Failed Transfer: Verify that the recipient has sufficient storage space on their device to receive the photo. If necessary, restart both devices and attempt the transfer again.
Tips for optimizing photo sharing with AirDrop
To make the most out of AirDrop for photo sharing, here are some on how to AirDrop photos:
Organize Photos: Before using AirDrop, organize your photos into albums or folders for easy access and efficient sharing.
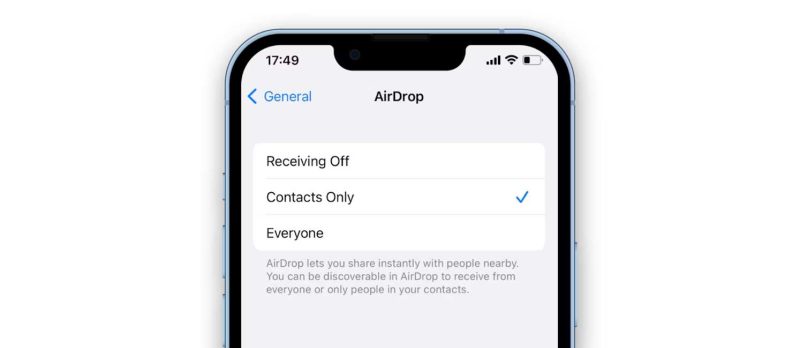
Use Contacts Only: Set AirDrop to “Contacts Only” mode for added privacy, allowing you to share photos exclusively with people in your contacts list. You can access these settings by going to Settings > General > AirDrop. Choosing “Contacts Only” restricts AirDrop to people in your contacts, while selecting “Everyone” allows anyone nearby to discover and send you files.

Use AirDrop with Mac: If you own a Mac, you can also use AirDrop to transfer photos between your iPhone and Mac. This provides a seamless workflow for editing and organizing your photos on a larger screen.
Also Read: How Do I Scan a QR Code Inside My Phone Without Using Another Phone
Conclusion
AirDrop on iPhone revolutionizes photo sharing by offering a seamless and secure experience. With its instant transfer, quality preservation, and user-friendly design, AirDrop makes sharing memories with loved ones effortless. By following the simple steps for learning how to AirDrop photos, you’ll master the art of AirDrop photo sharing and improve your digital connectivity. Adopt the comfort of AirDrop and you will love the joy of sharing your world with a tap of your finger.